How to Clean a Reusable Breathing Circuit Properly
How to Clean a Reusable Breathing Circuit Properly
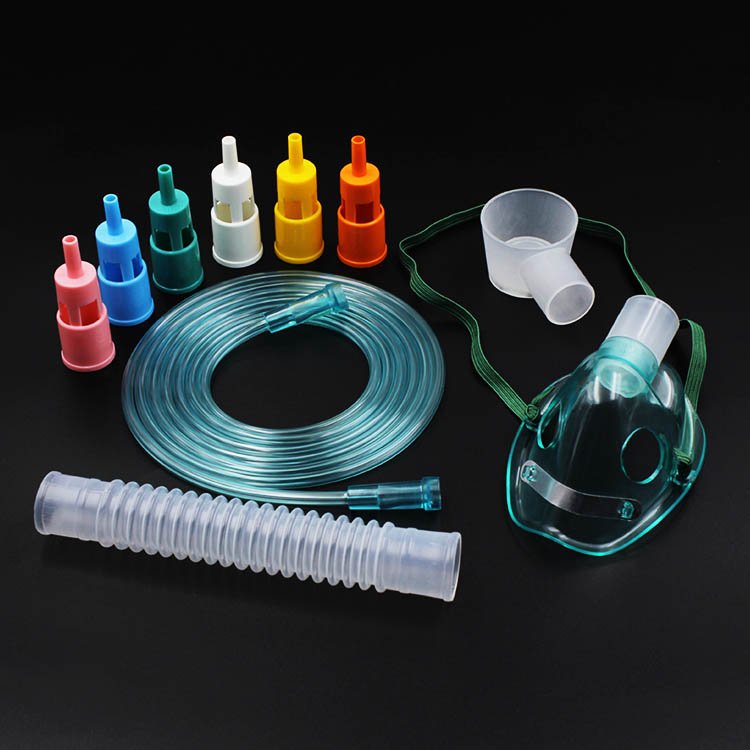
How to Clean a Breathing Circuit (Reusable Breathing Circuit Cleaning Procedures)
Disconnect Breath Circuit
Step 1:
Disconnect the breath circuit from the ventilator, as well as from the patient and, likewise, remove all filters or valves. Refer to your manual for removing the breath circuit. Check for abrasions or leaks and note which parts of them require replacing.
Rinse in Water
Step 2:
Rinse the whole thing off in the warmest water possible—certainly, just not hot, lest you ruin your breathing circuit as well.
You have to rinse it before you insert the cleaning agent there to wash off. And rinse off with warm water the objectionable secretions and noxious gases laid along that line, thus further breaking those down.
Use a Cleaning Agent/Disinfectant
Step 3:
Check your manual for how the cleaning agents or disinfectants may be used on your breathing circuit, but certainly, follow the stipulations of that manufacturer as to which concentrations used, and the soaking time would be fairly standard.
Step 4:
For more of the super scary, you’ll want to scrub the insides with a small brush; nasty things like to have their fun hiding in your valves, connectors, and narrow passages. (And do not mess with the tubing.)
Rinse Well
Step 5:
You want to rinse all of the inside the whole breathing circuit thoroughly with warm water. When that’s done, you want to clean the outside of the machine; this will reduce any chance of contaminants making their way to the patient’s airway on subsequent use.
Disinfecting (Should You Need To)
Step 6:
You may need to disinfect the circuit. You’ll be using a medicinal disinfectant; this is generally done after the breathing circuit has been used on a patient with any known respiratory infections or other respiratory illness. You can have a word with the maker to see what their minimum soak time and ratios are and if they are unsure.
Air Dry That Breathing Circuit
Step 7:
Leaving it to air dry on a clean drying rack is your best bet. Don’t attempt to dry with towels and cloths as they may leave lint or some other contaminant but presumably, the sneeze guard will block in case of “accidents”.
Reassemble and Stash
Step 8:
Once clean, remember to reassemble the breathing circuit, don’t forget the filters, valves, and connectors and when in doubt, stash away these in a sealed clean area to drop your chances of contaminating it too.
How Frequently Should You Clean Your Breathing Circuit?
Only Used on One Patient/Procedure:
If your reusable breathing circuits were used by one patient, and during one procedure, they will require cleaned and disinfected after every single use.
One Patient-Only Used in Multiple Procedures:
But if breathing circuits were only used on one patient, but in more than one procedure; they will need cleaned at the end of each day or after each multiple use of that case.
Two or More Patients:
If the breathing circuit was used for two or more patients; then it needs cleaned and disinfected after each patient. You may wish to refer to the recommendation for the manufacturer of your breathing circuit system for clarification.
Wrapping it Up
Keeping on top of the breathing circuit cleans means you keep all your patients safe and free of germy nasties and it effectively extends the lifecycle of your breathing circuit equipment. If you familiarize yourself with this procedure, you can sleep soundly knowing that your breathing circuits are clean providing auxiliary support for the entirety of every anaesthesia and ventilation procedure you finish.